If you haven’t noticed by now, we bargain hunt, dumpster dive, repurpose and reuse; from Craig’s List to raiding dump piles along our back roads, anything is possible. Nothing is more obvious of our money saving ideas than our quest to build a new chicken pen and coop for $200 or less. I’m happy to report, we are meeting that goal.
Craig’s List Find and the Plan of Action
I must tell you, I’m addicted to Craig’s List; it’s a bargain hunter’s paradise. However, when using, always take extra safety precautions. We only meet sellers during daylight hours and we never go alone.
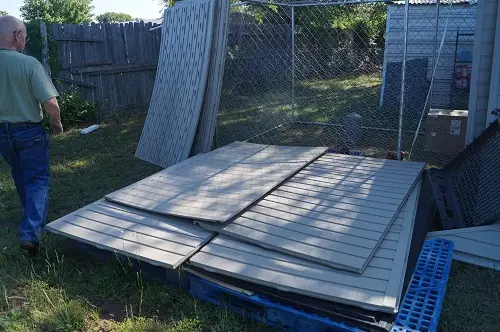
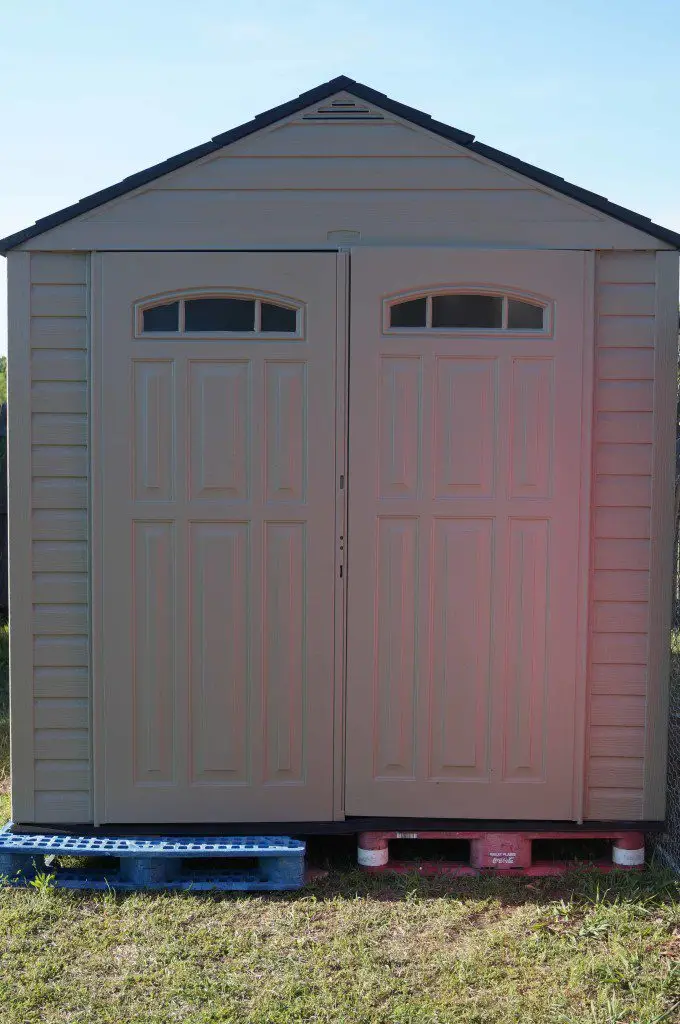
A couple of weeks ago, we came across an advertisement for a Rubber Maid storage building: Like new condition with all parts including the instruction booklet…$100 or best offer. We offered $75 and have a nice, nearly new building for our chicken coop. The
panels are slightly warped but will straighten out once we have the brackets
and screws in.
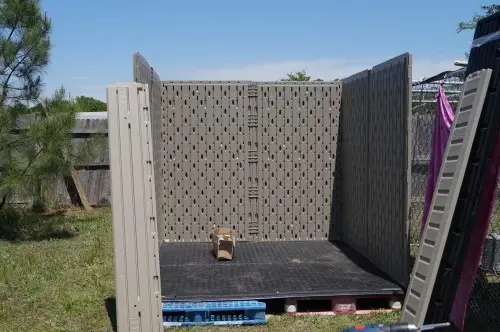
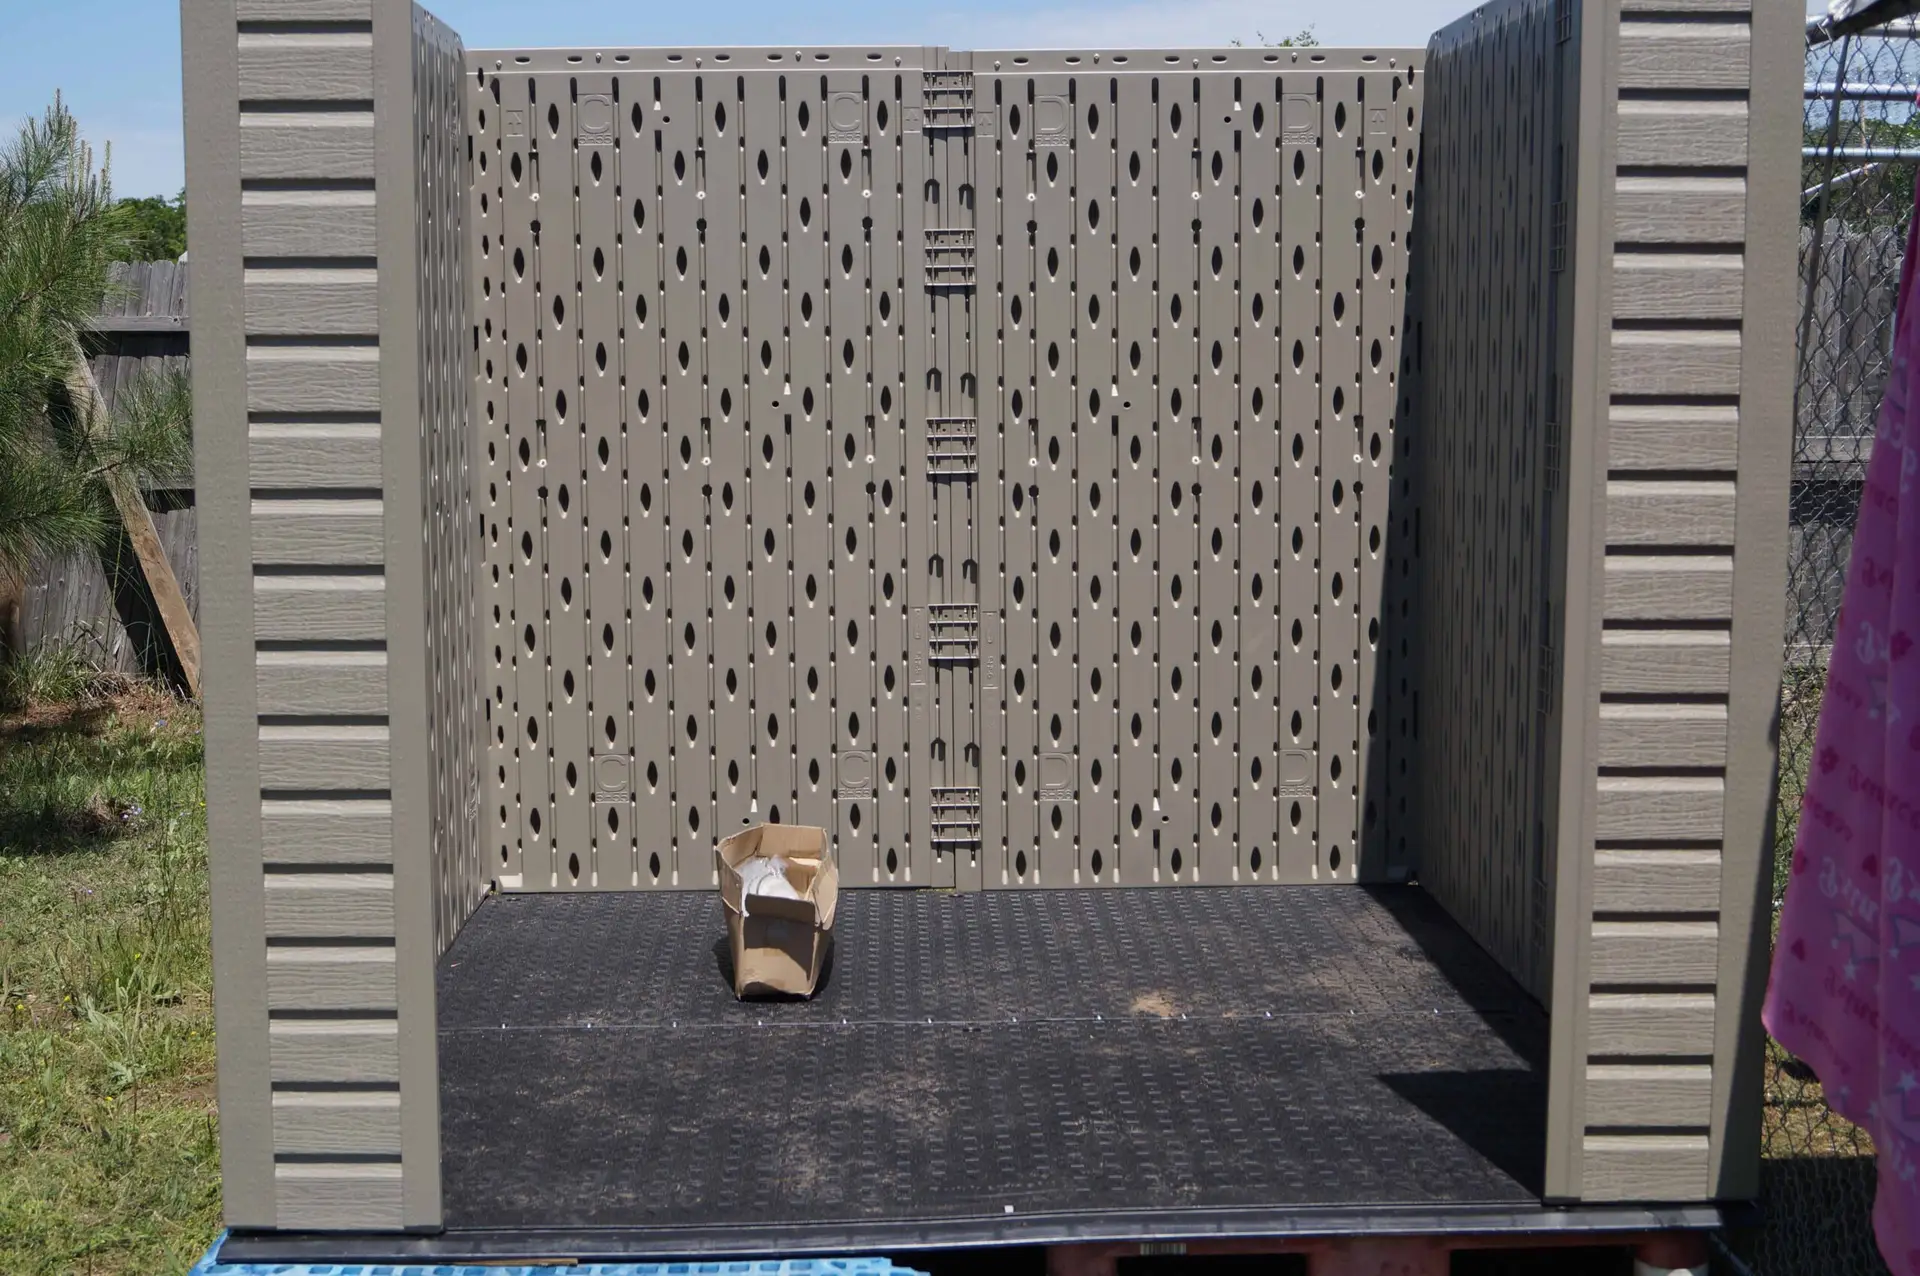
Our plan of action is simple, or at least we hope it is. The foundation of the coop is plastic pallets from hubby’s job: no charge. It has a plastic floor bottom making spring and fall super cleaning easy; just muck out then hose down.
[callout title=TIP]When putting something together, read the instructions, it makes things much simpler. It’s amazing how easy it goes up when you put it together correctly.[/callout]
There are four skylights in the roof, windows in each door, and vents in both the front and back peak. This will allow light for cleaning and egg gathering as well as providing ventilation. In the winter, we will cover the vents to keep it warm inside.
Of course we have our supervisors during this procedure…meet Rocky, our Polish rooster.
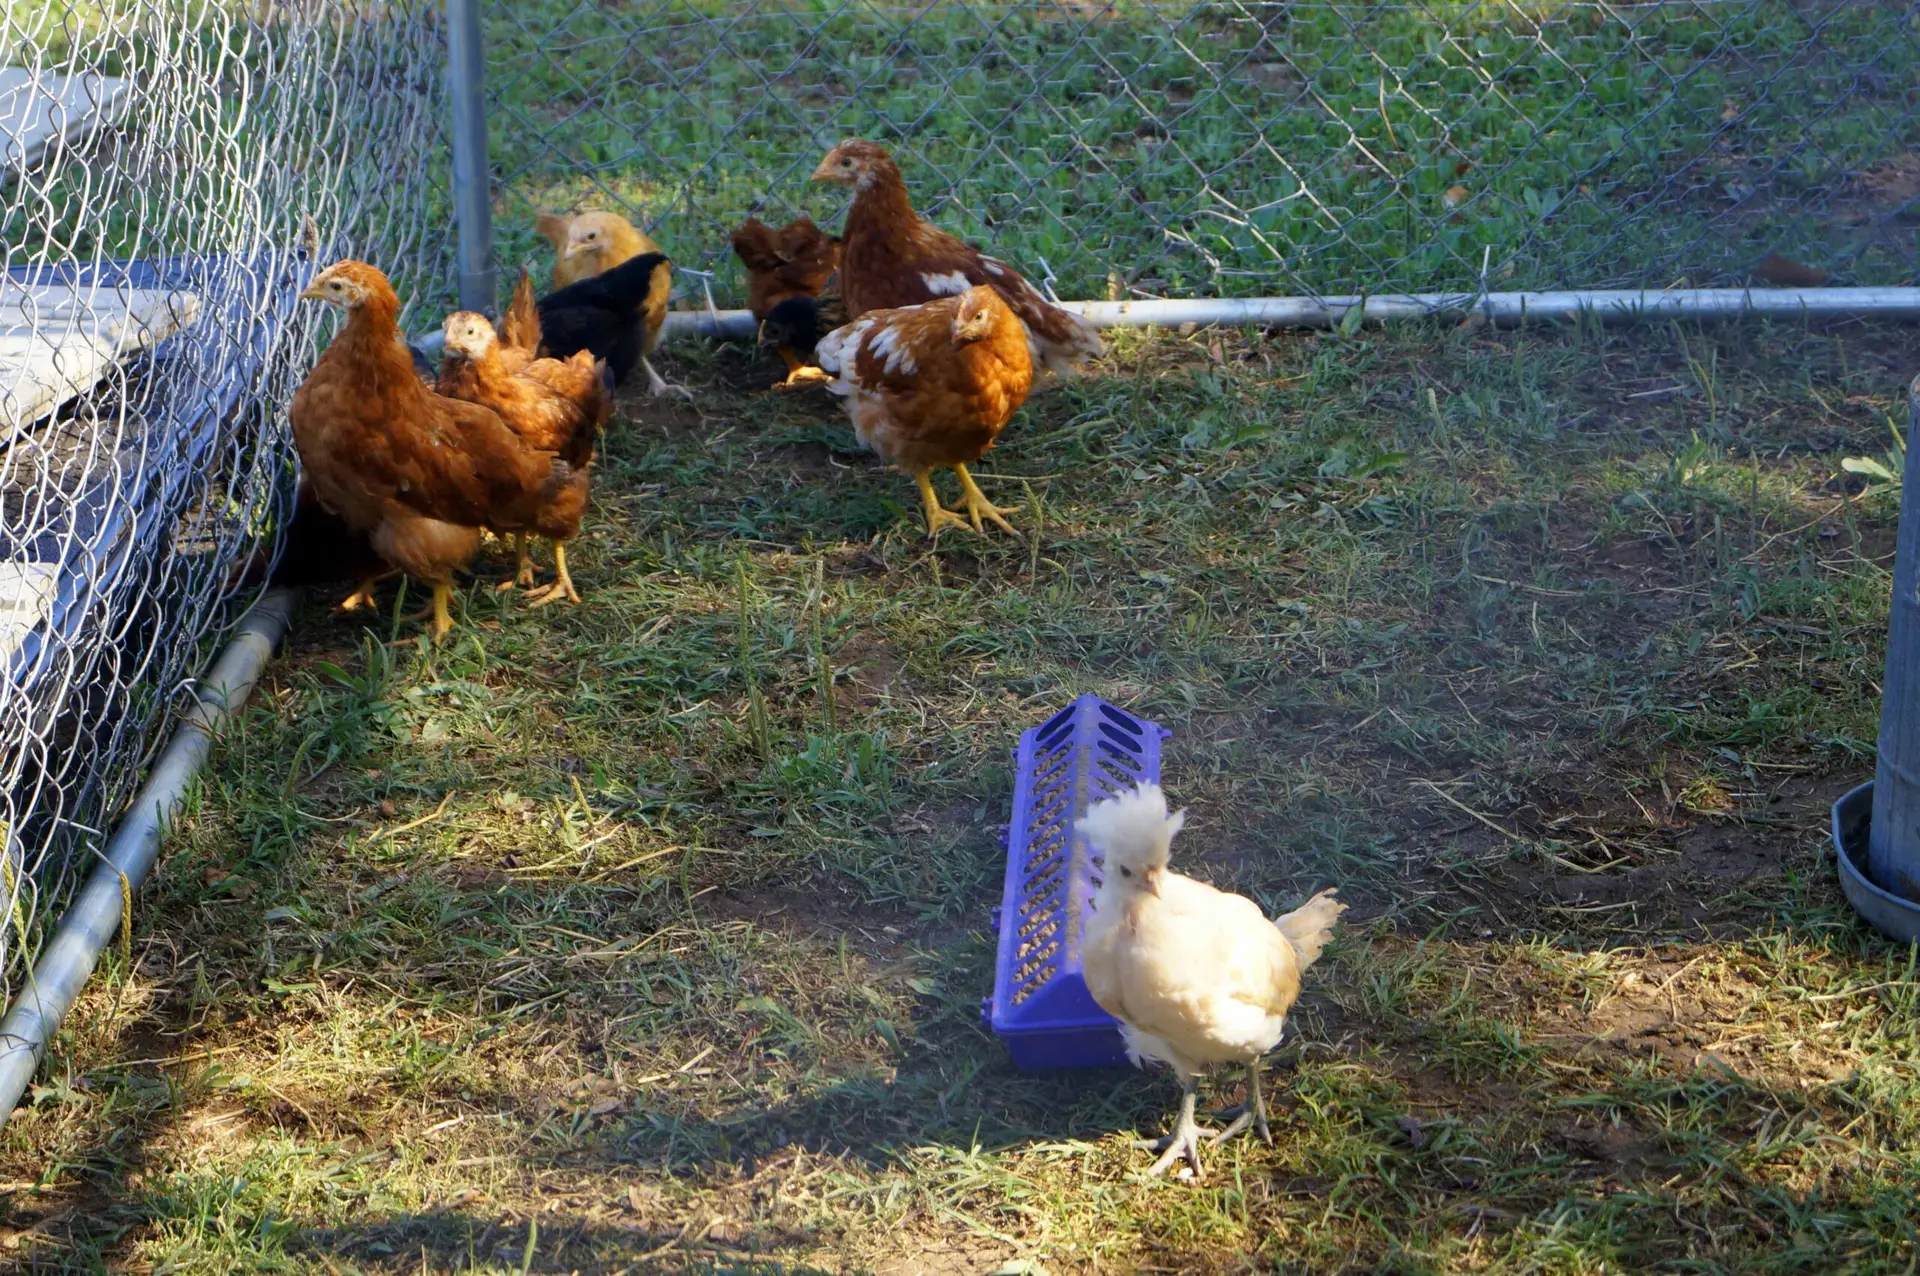
Rocky is part of the new chicks we added to our flock this year. Rocky likes to strut his stuff, but as you can see, the girls just ignore him. He isn’t crowing yet but I’m sure when he does, it will be impressive.
We weren’t going to get any roosters, but Rocky and one other Polish were in the batch. We love Polish and couldn’t resist taking both of them. Cher is the female Polish (not pictured). She doesn’t have a large topknot of feathers yet like Rocky does. She is a beautiful reddish blond, much darker than her male counterpart.
With the help of our excellent supervising team, we were able to get the building up in one day. Of course, if we had read the instructions first, we probably would have saved a couple of hours.
Our next step is level it out so the door hangs properly, cut a hole in the side and add a ramp for the chickens to enter. The building is about 3 inches away from the fence so we need something to cover the chicken’s entrance to the building. We have an idea and will share that in our final post. We also need to finish the inside: add nesting boxes, a roost, and hang the waterer and feeder.
Coming soon (hopefully next week) our final phase of Chicken Coop and Pen on the Cheep.
[callout title=See How it All Began]
Is the ‘final phase’ posted yet? Would love to see it but maybe I’m just missing the link?