Setting the stage for the healthy development of chicks requires a reliable and carefully constructed environment. This is where a chick brooder comes into play, serving as a warm, safe haven for baby chicks during their first weeks. Building a DIY chick brooder not only allows for customization to meet the specific needs of your flock but also instills a sense of accomplishment in providing for these young creatures.
Why might you choose the DIY route for chick brooders? For starters, creating your own brooder can be cost-effective and allows the flexibility to use materials you already have. Additionally, by being involved in the design and construction process, you gain a deeper understanding of the chicks’ requirements, contributing to their overall health and vigor.
A thoughtful approach to designing and setting up a baby chick brooder is critical for nurturing these young birds. The following section will dive into the necessary considerations and steps to plan your brooder. With a keen eye on crafting a comfortable environment, you’ll ensure the brooder meets the chicks’ warmth, safety, and space needs, setting the stage for their growth and well-being. With DIY, you’re not just building a physical space but laying the groundwork for the lives entrusted to your care.
Planning Your Baby Chick Brooder Design
Effective planning is the cornerstone of any successful project. Before I grab a hammer or cut a piece of wood, I carefully consider the dimensions, materials, and features that will ensure my chicks’ survival, comfort, and growth. When approaching the design of a baby chick brooder, consider the space needed, the materials at your disposal, and how you can create a healthy habitat.
Space is paramount. I calculate the square footage by the number of chicks I intend to raise, typically allotting 2-3 square feet per chick to prevent overcrowding. For materials, sanitation, and safety guide, my choices are wood for the frame, washable and non-toxic surfaces for the interior, and sturdy, fine mesh for ventilation.
Temperature regulation can’t be an afterthought—it’s crucial. A brooder’s design must allow for a reliable heat source, which must be adjustable as the chicks develop their feathers. Draft protection is equally important, ensuring the chick’s environment remains stable. Integrating these elements from the get-go saves time and stress down the line.
| ? Brooder Building Supplies ? | |
|---|---|
|
|
| Brought to You by thebackyardchickenfarmer.com ? |
Step-by-Step Guide: How to Build a Chick Brooder
Gather all necessary tools and materials before you start constructing your chick brooder. You’ll need a sturdy container, such as a plastic tub or a wooden box, a heat lamp, thermometer, pine shavings for bedding, a feeder, a waterer, and hardware cloth for a lid.
The building process begins with creating a solid framework. This step may involve reinforcing the edges if needed for a plastic tub. If you’re using wood, cut your pieces to size and assemble using nails or screws to form a box. Remember, it’s imperative to sand down any rough edges to prevent injury to the chicks.
Next, heat is crucial for baby chicks’ survival. Install the heat lamp securely above where your chicks will huddle, ensuring it’s adjustable. This allows you to modify heat levels by raising or lowering the lamp as required. Always affix it well to avoid falls, and pair it with a reliable thermometer to keep a consistent temperature between 95 and 100 degrees Fahrenheit in the brooder’s first week.
Pour in the bedding, typically pine shavings, to a depth of approximately 1-2 inches. This bedding should be changed regularly to maintain hygiene. Set up the feeder and waterer in areas easily accessible to the chicks but far enough from the heat source to avoid warming the food and water.
Safety is non-negotiable. Protect your brood by covering the brooder with hardware cloth or a similar lid that provides ventilation while keeping the chicks secure inside and potential predators out.
Conduct a thorough check of your brooder to ensure it’s safe and ready for occupants. Watch for potential hazards like loose wires, sharp corners, or gaps through which chicks could escape. After ensuring everything is immaculate, introduce the chicks to their new home.
Chick Brooder Building Plans
By following these step-by-step instructions, you can easily build a simple wooden box brooder to raise baby chicks at home.
Simple Wooden Box Brooder
Materials Needed:
- Plywood or lumber for the sides, bottom, and lid
- Screws or nails
- Hinges
- Saw
- Screwdriver or hammer
- Drill (optional)
- Hardware cloth for ventilation
- Chicken wire (optional)
- Wood glue (optional)
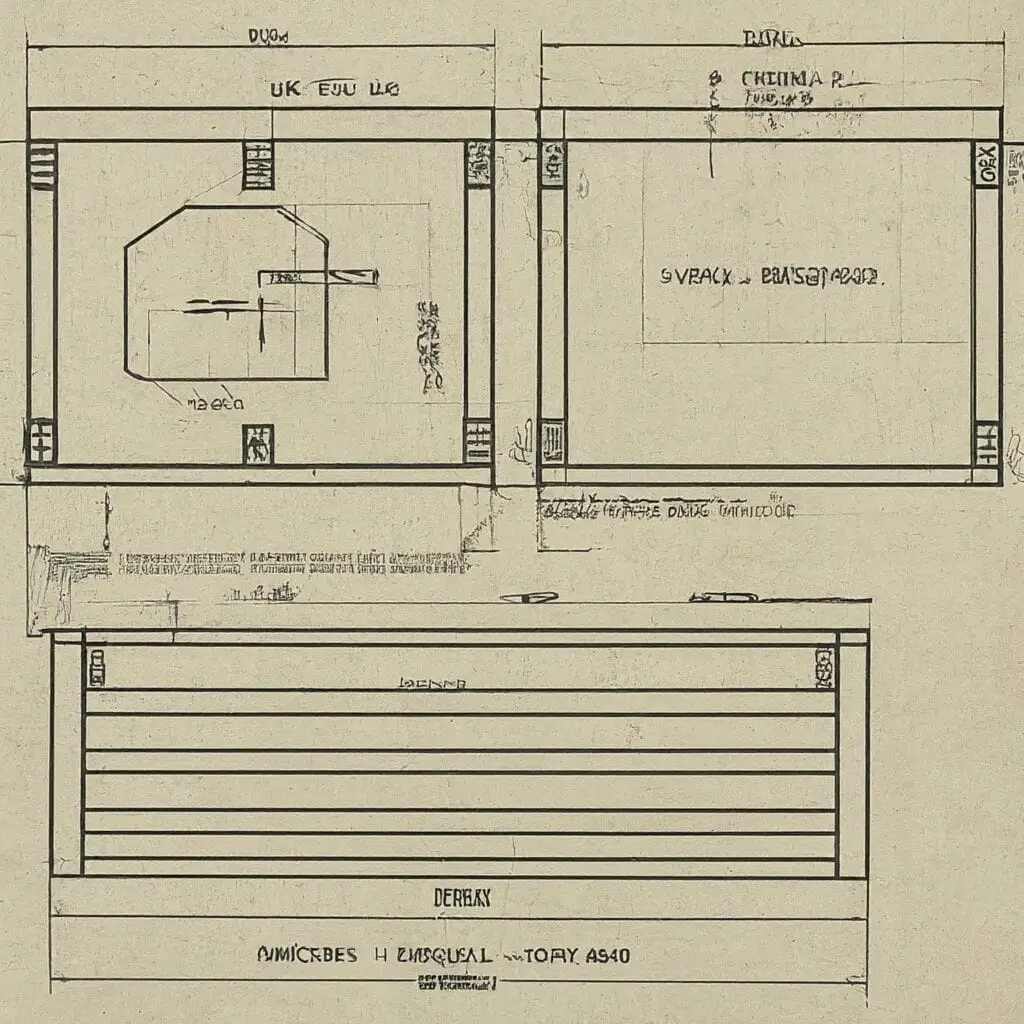
Step 1: Cut the Wood
- Measure and cut the plywood or lumber to the desired dimensions for the brooder’s sides, bottom, and lid.
- The base, which might be around 24 inches by 36 inches, and the sides, which might be around 12 inches high, are typical dimensions for a small brooder.
Step 2: Assemble the Box
- Begin by attaching the sides to the bottom piece using screws or nails. Ensure they are flush at the corners.
- If desired, apply wood glue along the edges for extra strength before screwing or nailing them together.
- Once the sides are attached, add the lid by attaching hinges along one edge of the top piece and the corresponding edge of the backside.
Step 3: Add Ventilation
- Using a saw or drill, cut ventilation holes in the sides of the brooder. These holes should be covered with hardware cloth to prevent chicks from escaping and predators from entering.
- Alternatively, you can use chicken wire for ventilation, but ensure the holes are small enough to prevent chicks from escaping.
Step 4: Finishing Touches
- Sand any rough edges to prevent splinters.
- Apply paint or sealant to the exterior of the brooder to protect the wood from moisture and extend its lifespan.
- Add bedding material to the bottom of the brooder, such as pine shavings or straw, to provide a comfortable surface for the chicks.
Step 5: Prepare for Use
- Set up a heat lamp or heating pad inside the brooder to maintain the chicks’ temperature.
- Place the feeder and waterer inside the brooder, ensuring they are easily accessible to the chicks.
- Monitor the temperature and adjust the heat source as needed to keep the brooder warm but not too hot.
As an Amazon Associate, I earn commission from qualifying purchases, which helps with website upkeep.
Maintaining Your Baby Chick Brooder for Optimal Health
Your DIY chick brooder is now a warm and secure home for the newest feathered additions to your family, but the job doesn’t stop there. Keeping these little ones thriving requires regular maintenance of their environment.
Start with a daily inspection routine. You’re checking for cleanliness, food and water supply, and the general well-being of your chicks. Any mess should be cleaned promptly to prevent disease and keep the brooder sanitary.
Temperature and humidity levels are critical for the health and comfort of baby chicks. Monitor these conditions closely, making minor adjustments to the brooder’s heat source to maintain a consistent environment.
As your chicks grow, they’ll need more space and less heat. Be prepared to adjust your brooder setup accordingly, expanding the space and gradually reducing the temperature.
Finally, you’ll encounter moments that require swift action – like a tipped-over water dish or a curious chick finding its way to an edge. Stay vigilant and correct these issues immediately to keep your brood safe.
Final Thoughts
Remember, the brooder is just the beginning. As your chicks develop, you’ll transition them to a chicken coop, but until then, your focus on their care and well-being in the brooder sets the stage for a healthy flock.
The expense is minimal with a DIY chick brooder. Building your chick’s first home offers a rewarding experience while laying the foundation for a robust poultry flock. Building a brooder yourself ensures your baby chicks have the best start in life. A thriving environment for your baby chicks to grow is ensured when you apply the care and attention to detail that brought you through the building process.