If you’re new to raising chickens, you might be surprised to learn how crucial the first few weeks of a chick’s life are. During this sensitive period, a well-prepared brooder serves as a temporary home where the baby chicks can stay warm, safe, and well-fed as they begin their journey to adulthood.
A brooder is the chick’s first home; getting it right is critical. Imagine a cozy, well-appointed nursery, but for chicks. It’s here they’ll grow, develop, and require an environment that caters to their unique needs. These needs can be summed up into four essential components: a reliable heat source, appropriate bedding, adequate space, and safety.
As a caring chick owner, the health and comfort of these young birds are in your hands. The brooder invests in their well-being and your flock’s future productivity and health. The extra effort now sets you up for fewer issues in the future.
Remember, setting up a brooder goes beyond just buying and assembling parts. It’s about understanding the underlying whys and hows that will ensure your chicks thrive. Now, I’ll guide you through choosing and preparing a suitable brooder in the next section so your chicks can flourish from day one.
Choosing and Preparing the Right Brooder
Your choice of brooder sets the stage for the health and growth of your baby chicks. A brooder can be as simple as a cardboard box for small batches or a more elaborate setup for larger flocks. Commercial brooders come with all the bells and whistles but can be costly. On the other hand, a do-it-yourself (DIY) approach requires more hands-on setup but can be a cost-effective and rewarding experience. While it takes a time investment, building a brooder is not difficult, and many people find it a rewarding experience when preparing for their new chicks. It just takes some patience and requires an attention to detail.
| ? DIY Baby Chick Brooder ? | |
|---|---|
|
Follow these steps to build your own DIY baby chick brooder:
|
|
| Brought to You by thebackyardchickenfarmer.com ? |
Cleanliness is paramount, even when all the materials are new. A thorough scrub with a disinfectant ensures your brooder is free from pathogens that can harm delicate chicks. Careful consideration of brooder placement is a necessary step. Place your brooder in a draft-free area where you can easily monitor and access it, yet out of reach from household pets and other potential dangers. Regular maintenance, including daily cleaning of equipment and bedding, is essential for preventing the build-up of harmful bacteria and maintaining a healthy environment.
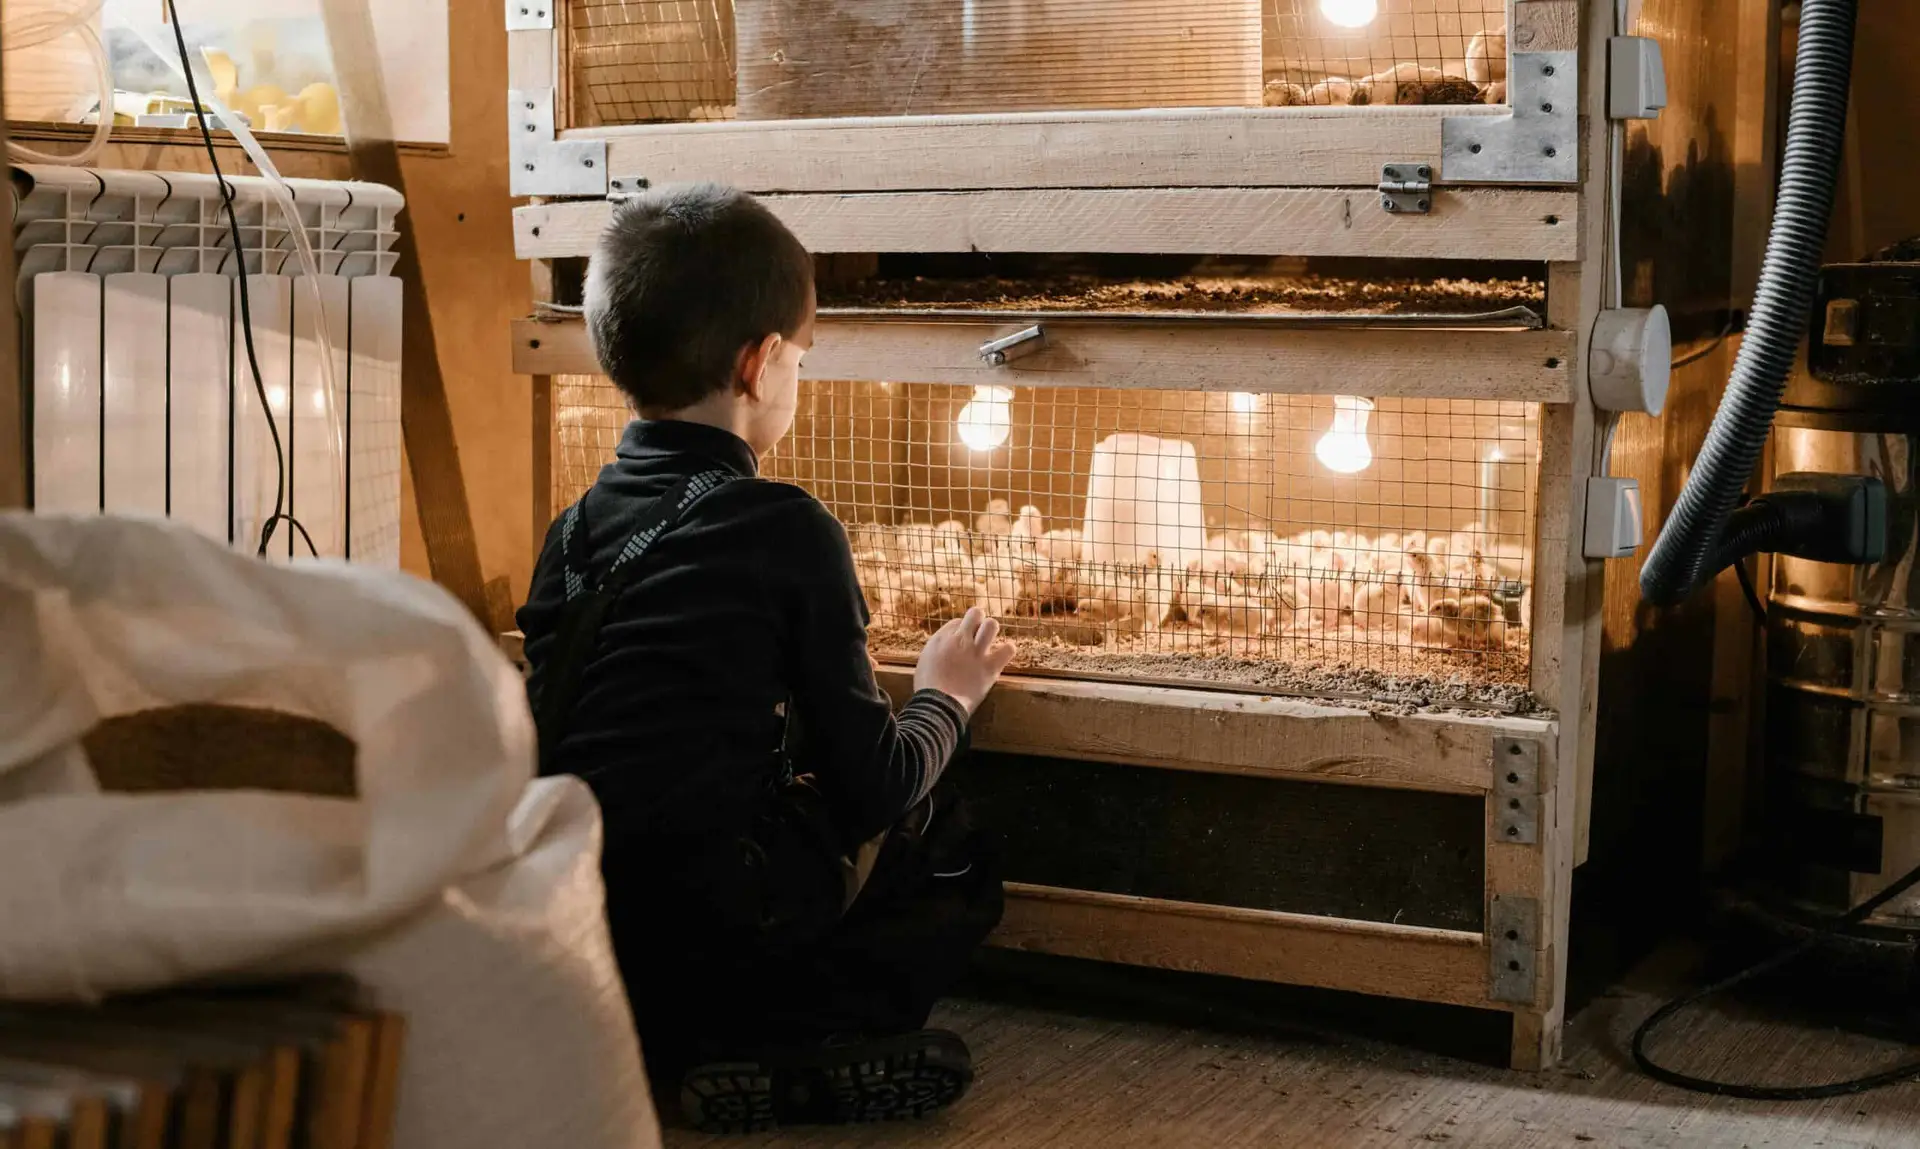
Adding a reliable heat source is one of the most crucial steps in brooder setup. The ambient temperature inside the brooder should be approximately 95 degrees Fahrenheit for the first week of life, then decrease the temperature by about 5 degrees each week afterward. Use a thermometer to monitor the temperature. Avoid temperature fluctuations, which can harm the chicks’ health and well-being.
As an Amazon Associate, I earn commission from qualifying purchases which helps with website upkeep.
The chicks’ transition to the coop is a significant milestone. As they feather out and grow, they’ll become more independent and capable of regulating their body temperatures. The ground rules you’ve set by choosing and preparing an appropriate brooder will impact their transition to the next phase of life.
Daily Care and Monitoring of Your Baby Chicks
Baby chicks require attentive daily care beyond just providing food and water. Your close observation and engagement are essential in fostering their health and happiness. Regularly checking on your chicks several times daily keeps you aware of their activity levels and behavior, which are strong indicators of their well-being.
| ? Daily Baby Chick Care ? | |
|---|---|
|
|
| Brought to You by thebackyardchickenfarmer.com ? |
Feeding baby chicks isn’t simply scattering some feed into their brooder. They need a balanced diet appropriate for their growth stage. STARTER FEED is the go-to during their early weeks, as it’s packed with crucial nutrients. Ensure feed is accessible and refresh it daily to prevent spoilage.
Hydration is just as critical. Chicks should have constant access to clean, fresh water. Check water containers throughout the day to ensure they’re full and clean. Opt for shallow water dishes or add marbles or pebbles to deeper ones to prevent drowning.
Observing your chicks can clue you into their health status. Active and curious behavior typically signals that they’re healthy. Be on the lookout for concerning signs like lethargy, unsteady walking, or lack of appetite. If such symptoms appear, consulting a veterinarian is your safest bet.
Accurate environmental control within the brooder can’t be overstated. You need to maintain the correct temperature gradient; as chicks grow, they’ll require less heat. Use a thermometer for precise measurement, and notice if chicks huddle (too cold) or pant (too hot). Adjust accordingly.
Finally, proper humidity and good ventilation prevent respiratory issues and regulate temperatures. However, avoid drafts. Cleanliness also deserves mention – change bedding regularly to avoid the buildup of waste and prevent diseases.
Transitioning From Brooder to Coop: When and How
Knowing when to move your baby chicks from the brooder to the coop is crucial for their continued growth and well-being. This process isn’t an across-the-board date but rather a careful observation. Generally, when chicks are 5 to 6 weeks old, they’ve feathered out enough to withstand cooler temperatures.
Start the transition process by gradually exposing chicks to their new environment. Spend short periods with them in the coop during the day, allowing them to acclimate to the sights, sounds, and smells. Always ensure they are safe from predators and harsh weather during these outings.
As an Amazon Associate, I earn commission from qualifying purchases which helps with website upkeep.
Before shifting completely, your coop should be ready to house your feathered friends comfortably. Adjust the heating inside the coop because your babies still need extra warmth. Equip the coop with suitable feeders, water containers, and perches scaled to their size.
The big move requires patience. Transitioning should be slow and stress-free. Monitor your chicks’ behavior and health closely during the first few weeks. This systematic process ensures your chicks will grow into resilient, healthy adult chickens. Remember, their comfortable start in a suitable brooder led them to this point, and your continued care is just as critical in this next stage of poultry development.