If you are new to backyard chicken farming, the thought of raising baby chicks at home may be intimidating. However, watching your babies grow from fuzzy hatchlings to full-grown birds is rewarding. Making the process more rewarding is building your own DIY chick brooder. It only takes a few materials and basic woodworking skills to create a safe, cozy place for your hatchlings to thrive. In this guide, you will find step-by-step instructions for making a wooden brooder box, perfect for nurturing your newest arrivals.
How to Build a Wooden Chick Brooder: Step-by-Step Guide
Materials Needed:
- Plywood or lumber for the sides, bottom, and lid
- Screws or nails
- Hinges
- Saw
- Screwdriver or hammer
- Drill (optional)
- Hardware cloth for ventilation
- Chicken wire (optional)
- Wood glue (optional)
Step 1: Cut the Wood
- Measure and cut the plywood or lumber to the desired dimensions for the sides, bottom, and lid of the brooder.
- Typical dimensions for a small brooder might be around 24 inches by 36 inches for the base, with sides around 12 inches high.
Step 2: Assemble the Box
- Begin by attaching the sides to the bottom piece using screws or nails. Ensure they are flush at the corners.
- If desired, apply wood glue along the edges for extra strength before screwing or nailing them together.
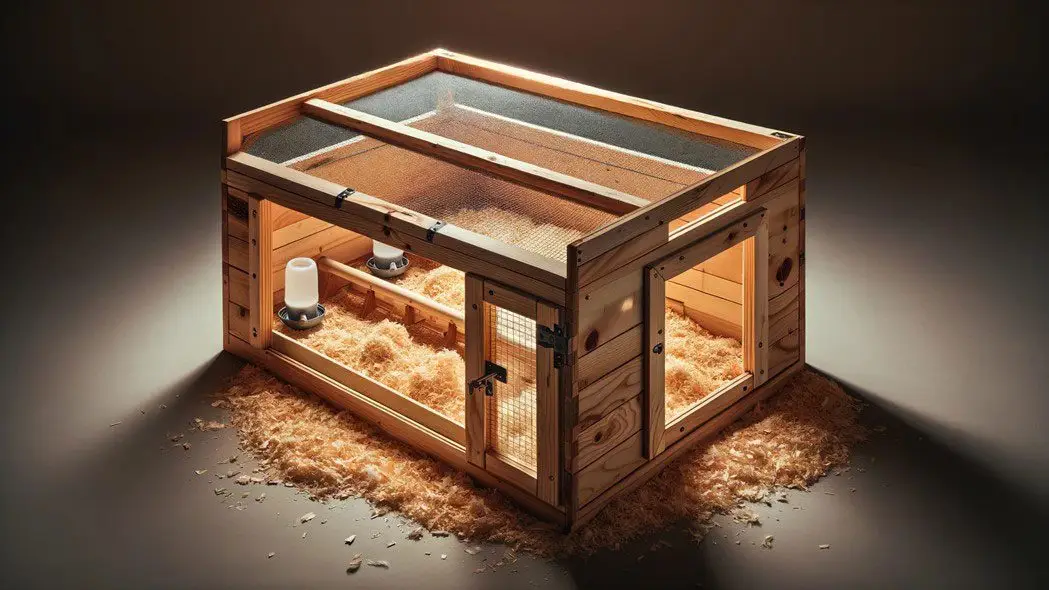
- Once the sides are attached, add the lid by attaching hinges along one edge of the top piece and the corresponding edge of the back side.
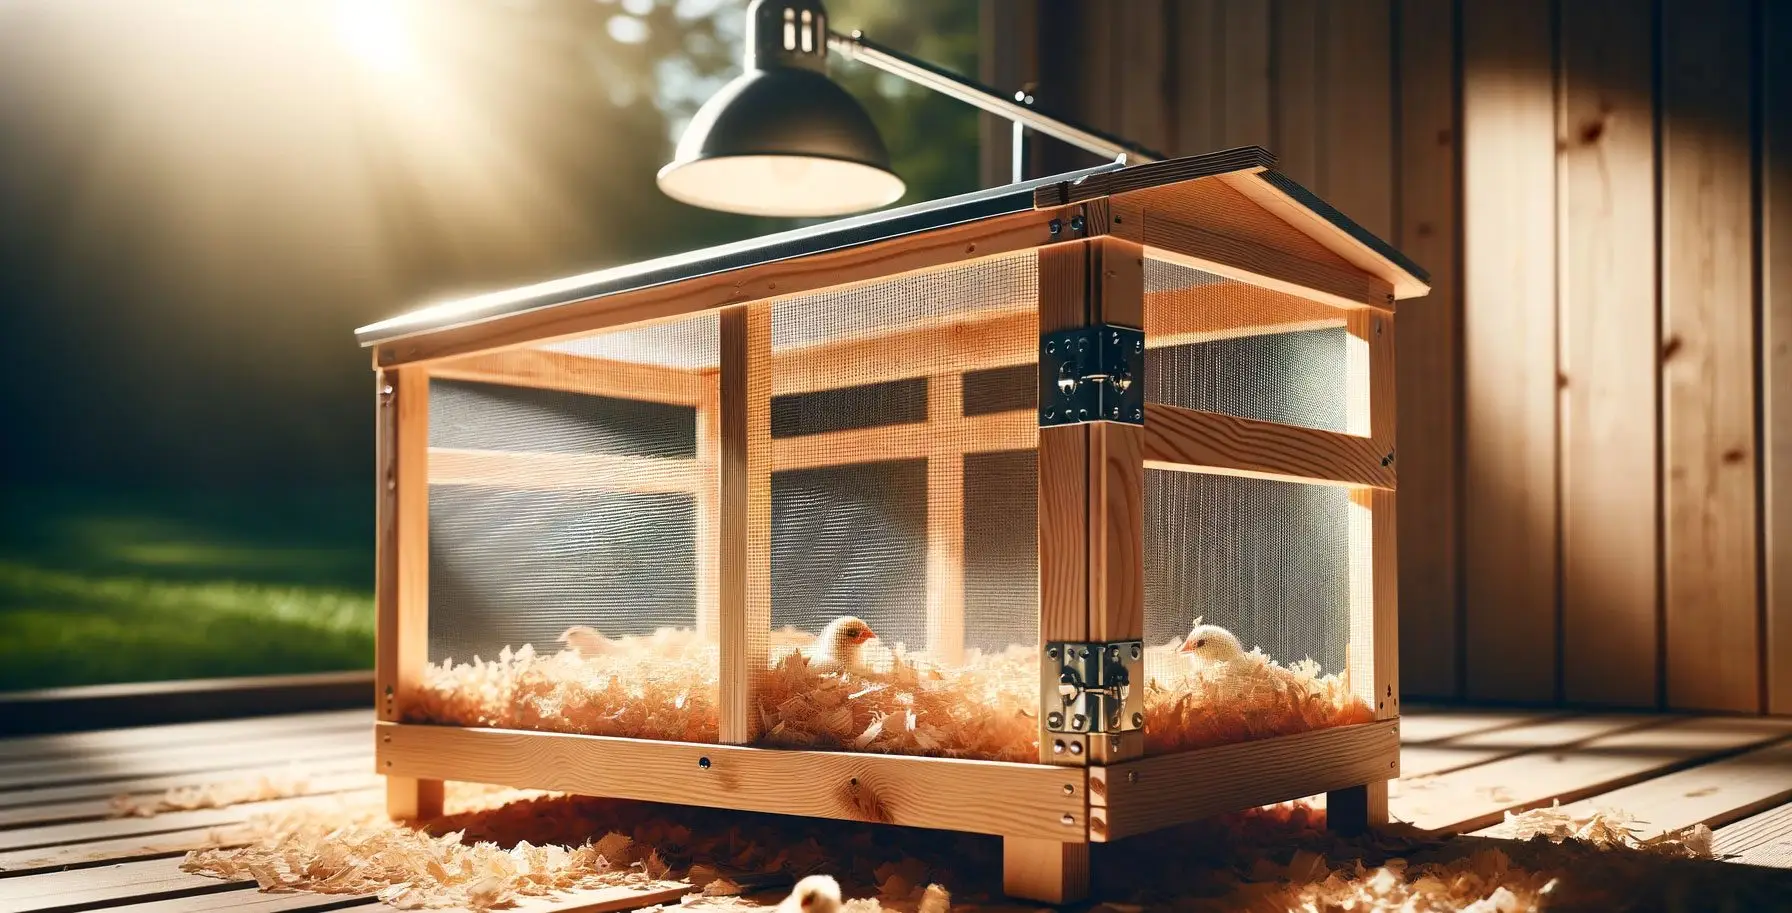
Step 3: Add Ventilation
- Using a saw or drill, cut ventilation holes in the sides of the brooder. These holes should be covered with hardware cloth to prevent chicks from escaping and predators from entering.
- Instead of holes, you can leave the sides of the brooder box open and cover the opening with hardware cloth.
- Alternatively, you can use chicken wire for ventilation, but ensure the holes are small enough to prevent chicks from escaping.

Step 4: Finishing Touches
- Sand any rough edges to prevent splinters.
- Apply paint or sealant to the exterior of the brooder to protect the wood from moisture and extend its lifespan.
- Add bedding material to the bottom of the brooder, such as pine shavings or straw, to provide a comfortable surface for the chicks.
Step 5: Prepare for Use
- Set up a heat lamp or heating pad inside the brooder to maintain the chicks’ temperature.
- Place feeder and waterer inside the brooder, ensuring they are easily accessible to the chicks.
- Monitor the temperature and adjust the heat source as needed to keep the brooder warm but not too hot.
Step 6: Maintain and Clean
- Regularly clean the brooder by removing soiled bedding and replacing it with fresh material.
- Check the ventilation holes regularly to ensure they remain clear and unobstructed.
- As the chicks grow, you may need to adjust the size of the brooder or move them to a larger space.
Following these step-by-step instructions, you can quickly build a wooden box brooder to raise baby chicks at home. Your newfound DIY skills helped you create a nurturing environment for baby chicks to grow and flourish. Your DIY chick brooder box helps you regularly monitor the chick’s well-being to adjust the temperature and maintain the box’s cleanliness as needed. As your baby chicks grow, you can easily expand and upgrade their living quarters. Enjoy knowing you’ve provided a warm, secure home for current and future flocks.