Disclosure: This post may contain affiliate links. If you purchase through these links, I may earn a small commission at no extra cost to you.
Introducing new chickens to an existing flock is one of the most important skills a backyard chicken keeper can learn. But it is also one of the easiest places to run into problems if the process is rushed or handled without a clear plan.
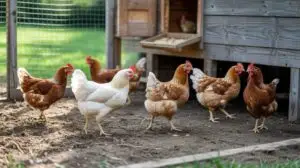
Chickens live by a social structure known as the pecking order. Every time new birds are added, that structure has to be re-established. This process includes pecking, chasing, and posturing, all of which are normal behaviors. The goal is not to eliminate those behaviors, but to manage them so they do not turn into injuries or long-term stress.
A slow, structured introduction allows the flock to adjust in stages. When done correctly, the process becomes predictable and much easier to manage.
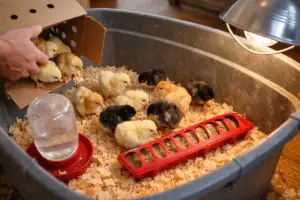
If your new birds are coming from the brooder, make sure they are fully feathered and ready for outdoor life. Learn what you need to know with our Raising Baby Chicks for Beginners and Brooder Setup Guide.
When to Introduce New Chickens
Timing plays a major role in how smoothly the introduction goes. New chickens should be close in size to your existing flock. Smaller birds are more likely to be targeted and have difficulty avoiding aggressive behavior. Waiting until younger birds are strong, fully feathered, and able to move confidently gives them a better chance to integrate successfully.
Weather conditions matter as well. Choose a period of mild, stable weather so your flock is not dealing with additional stress from heat or cold. Chickens adjust more easily when their environment is consistent.
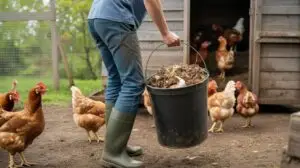
Before starting, make sure your coop and run are ready. Birds need enough space to move freely and avoid each other when necessary. If your setup feels crowded, fix that first. When building your coop and run, check out our Chicken Predators and How to Protect Your Flock article to ensure everything is secure.
Step 1: Prepare a Separate Holding Area
New chickens should always start in their own space before joining the flock. Set up a separate holding area that is secure, dry, and completely independent from your main coop and run. This area does not need to be large or permanent, though it should allow the birds to eat, drink, and move comfortably.
Use this time to observe the new chickens closely. Make sure they are eating well, staying active, and showing no signs of illness. This period also helps them recover from transport and adjust to their new environment before facing the stress of introduction.
Keep everything separate during this stage, including feeders and waterers. Starting with a clean separation gives you control and prevents problems that are harder to fix later.
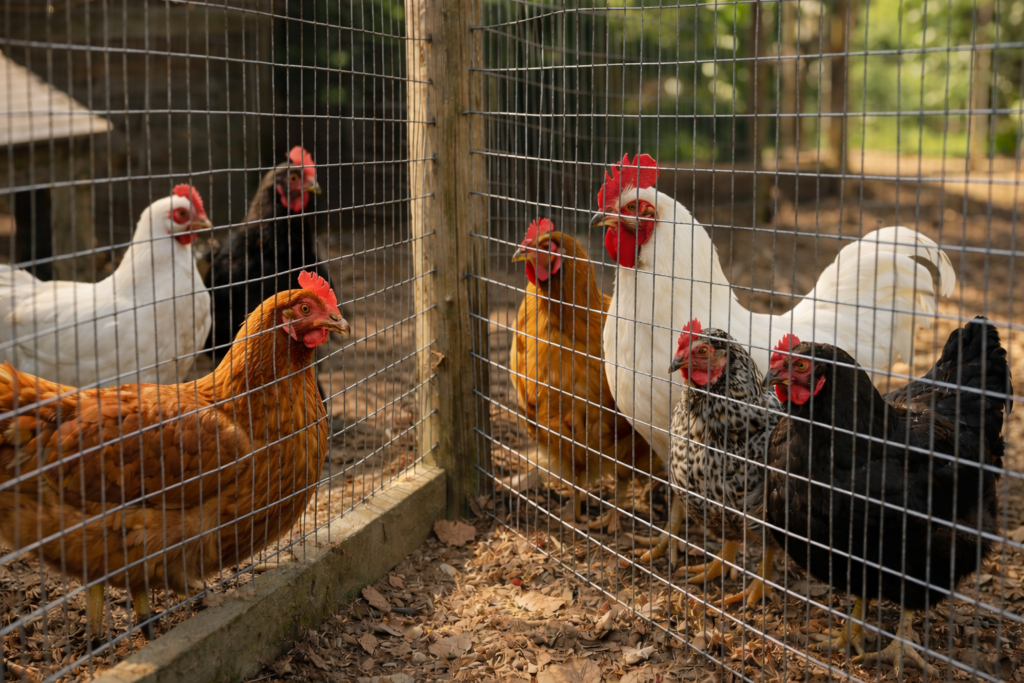
Step 2: Set Up Visual Contact
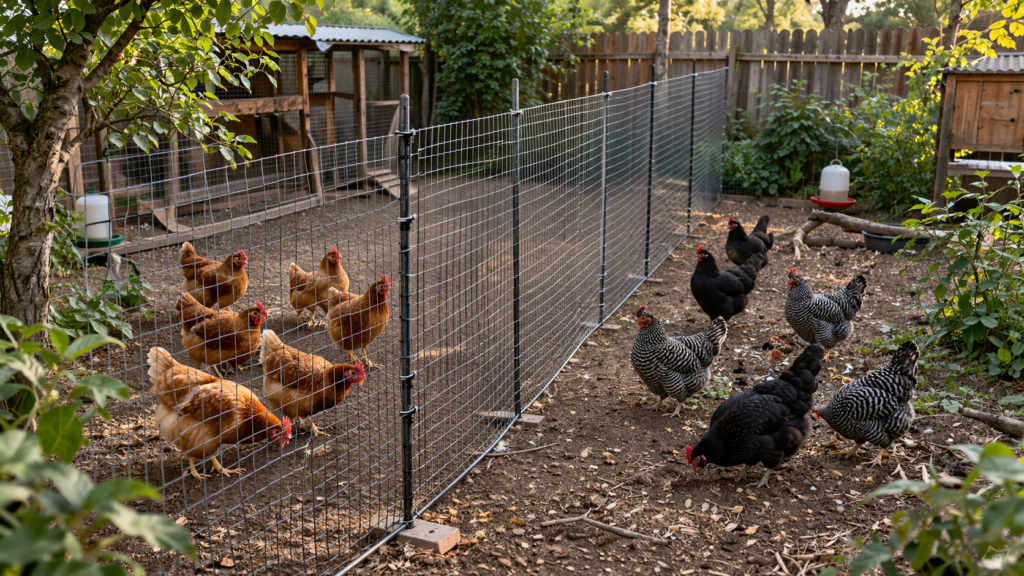
Once the new chickens are settled, allow them to see the flock without direct contact. Place the new birds inside a section of your run or behind a wire barrier where both groups can observe each other safely. This allows the chickens to become familiar with each other’s presence without triggering immediate conflict.
Over several days, the birds will begin to pay attention to each other. You may see pacing, staring, or curiosity along the barrier. These behaviors are part of the adjustment process and help reduce the intensity of the first physical interaction. Give this stage enough time to work. Rushing it often leads to more aggressive encounters later.
Step 3: Begin Short, Controlled Introductions
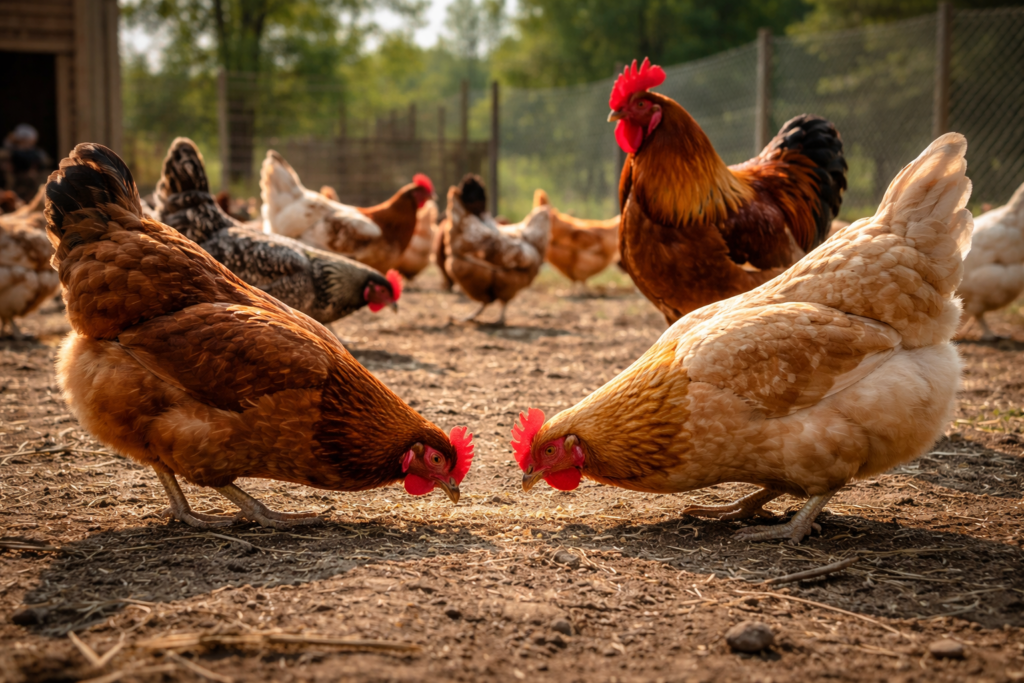
When both groups appear calm during visual contact, you can begin short introductions. Choose a time when you can stay nearby and watch closely. Allow the chickens to interact in a space that gives them room to move, such as a run or open yard. Avoid tight areas where birds cannot get away from each other.
Keep the first sessions short. Ten to fifteen minutes is enough to observe how the birds respond. Expect some pecking and chasing, as this is how chickens begin to establish their social structure. End each session before tension builds too much. Returning birds to their separate spaces keeps the process controlled and prevents early conflicts from escalating.
Step 4: Watch Behavior and Step In When Needed
As introductions continue, your focus should shift to observing patterns rather than reacting to every interaction.
Chickens will naturally establish their pecking order through short pecks and brief chases. These behaviors are expected and usually resolve on their own. What matters is whether the behavior improves over time or becomes more aggressive.
Pay close attention to how the birds function as a group. All chickens should be able to move freely, eat, drink, and rest without being constantly harassed. A bird that is repeatedly targeted or unable to access food needs immediate attention.
This table will help you quickly identify what is normal and what requires intervention:
| 🐔 Behavior | ✅ Normal | ⚠️ Problem |
|---|---|---|
| Pecking | Short pecks, brief chasing | Repeated attacks, injury |
| Chasing | Stops quickly | Constant pursuit |
| Feeding | All birds eat eventually | One bird blocked from food |
| Movement | Birds move freely | One bird hiding constantly |
If behavior becomes aggressive or does not improve, separate the birds and return to the previous step. Slowing the process often resolves the issue.
Focus on behavior over time instead of reacting to every peck.
Chickens need time to establish order, and short interactions are part of that process.
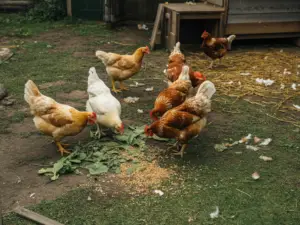
Step 5: Add Extra Feeders and Waterers
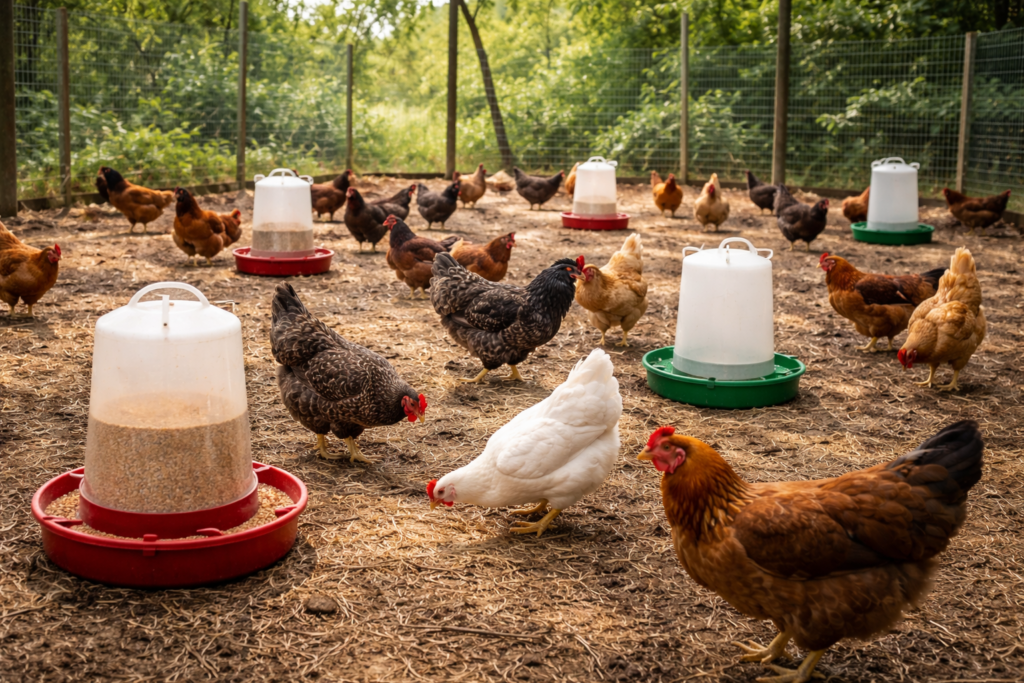
As birds begin spending more time together, competition for food and water can increase. Chickens higher in the pecking order may try to control access, which can create stress for new birds.
Adding multiple feeders and waterers in different areas of the run helps reduce this pressure. Spread them out so birds are not forced into one location. This allows lower-ranking chickens to eat and drink without constant interference.
Step 6: Increase Time Together Gradually
As introductions improve, begin increasing the amount of time the birds spend together. Extend each session gradually rather than moving straight to full-time integration. This steady approach allows the flock to adjust at a manageable pace and reduces the risk of aggression returning.
If you are unsure how quickly to move forward, this general timeline can help guide your progress:
| 📅 Stage | 🛠️ What to Do | ⏱️ Typical Time |
|---|---|---|
| Quarantine | Keep new birds separate | 1–2 weeks |
| Visual contact | Barrier introductions | 3–7 days |
| Supervised time | Short interactions | Several days |
| Full integration | All birds together | After behavior stabilizes |
Use this as a guide rather than a strict rule. Some flocks adjust quickly, while others need more time.
Step 7: Move the Flock Together at Night
Once the chickens are spending full days together without major issues, move them into the coop as a single flock. Do this after dark when chickens are calm and less active, placing the new birds on the roost with the existing flock and allowing them to settle overnight. Make sure there is enough space for all birds. Crowding at this stage can lead to renewed tension and undo your progress.
Common Mistakes to Avoid
Many problems come from moving too quickly or skipping steps. Introducing birds too soon, limiting space, or expecting zero conflict often leads to unnecessary stress. Chickens need time to adjust, and managing that process carefully makes all the difference.
Final Thoughts
Introducing new chickens is a process that rewards patience and attention to detail. When you give your flock time, provide enough space, and watch behavior closely, the transition becomes much easier to manage. Chickens will establish their order and settle into a stable routine.